A burst supply line at 2 a.m. does not wait for a convenient construction schedule. Neither does a roof leak that quietly spreads into insulation after a Central Texas storm. A clear water remediation timeline helps property owners act quickly, set realistic expectations, and protect the parts of a home or commercial building that matter most.
The work is not finished when standing water disappears. Proper remediation addresses moisture hidden below flooring, behind walls, and inside structural materials before it becomes mold growth, material failure, or an expensive reconstruction project. The exact schedule depends on the source, extent, materials affected, and how quickly the property is stabilized, but understanding each phase makes the process far less uncertain.
The Water Remediation Timeline at a Glance
For a small, clean-water incident caught immediately, drying may take three to five days, followed by relatively minor repairs. A larger loss involving contaminated water, multiple rooms, structural materials, or mold can take several weeks. If custom finishes, cabinets, flooring, or specialty materials need replacement, reconstruction can extend the project further.
The critical point is this: mitigation and restoration are different stages. Mitigation stops additional damage and dries the building. Restoration repairs or rebuilds what had to be removed. Rushing from one stage to the next before moisture readings confirm dry conditions can leave a problem concealed behind a freshly finished wall.
First 24 Hours: Stop the Water and Stabilize the Property
The first day has the greatest impact on the overall outcome. If the source is inside the property, shut off the main water supply when it is safe to do so. For a plumbing failure, a plumber may be needed to make the repair before drying work can begin in earnest. For roof or exterior intrusion, temporary protection may be necessary until permanent repairs can be completed.
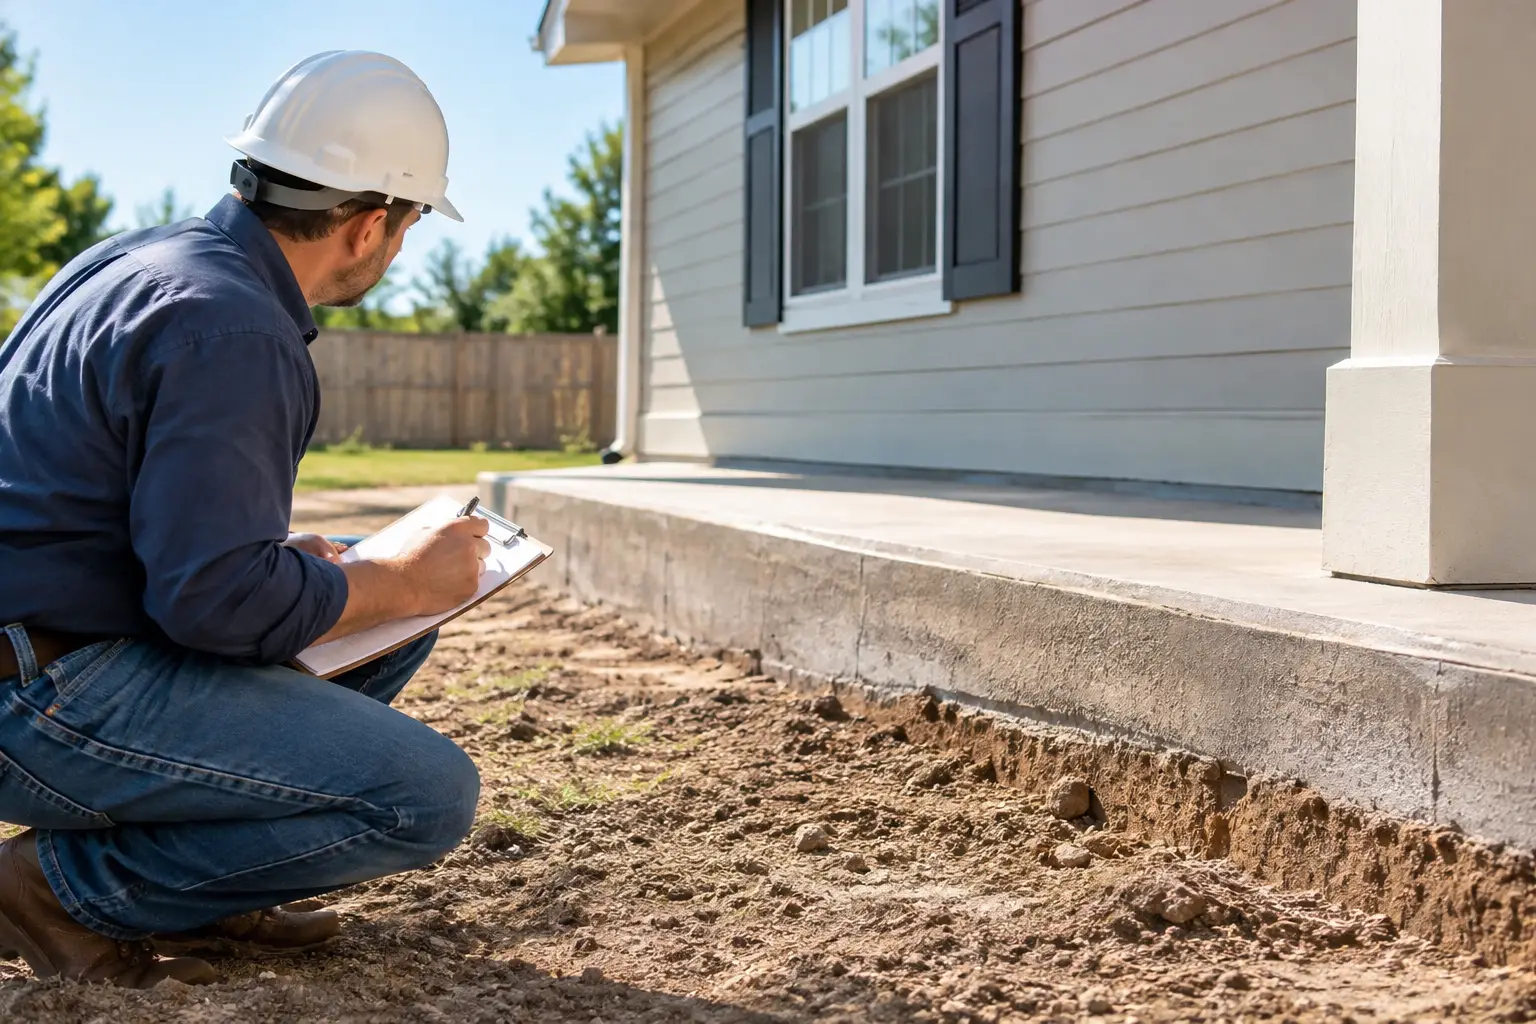
A professional assessment should identify the water source, the affected areas, visible damage, and likely migration paths. Water does not stay where it first appears. It can travel under baseboards, beneath flooring, through wall cavities, and into adjacent rooms. Moisture meters and thermal imaging help locate conditions that are not obvious to the eye.
This is also the time to document the loss. Take photos and video before moving contents when possible, keep damaged materials if an insurer requests inspection, and report the claim promptly if insurance coverage may apply. Do not wait for an adjuster before addressing active water and beginning emergency mitigation. Delays can increase damage and may complicate the claim.
Safety comes first. Avoid entering areas with electrical hazards, unstable ceilings, or contaminated water. Water from sewage backups, toilet overflows with waste, or outside flooding requires more stringent containment and sanitation than clean water from a supply line.
Days 1-3: Extraction, Containment, and Material Decisions
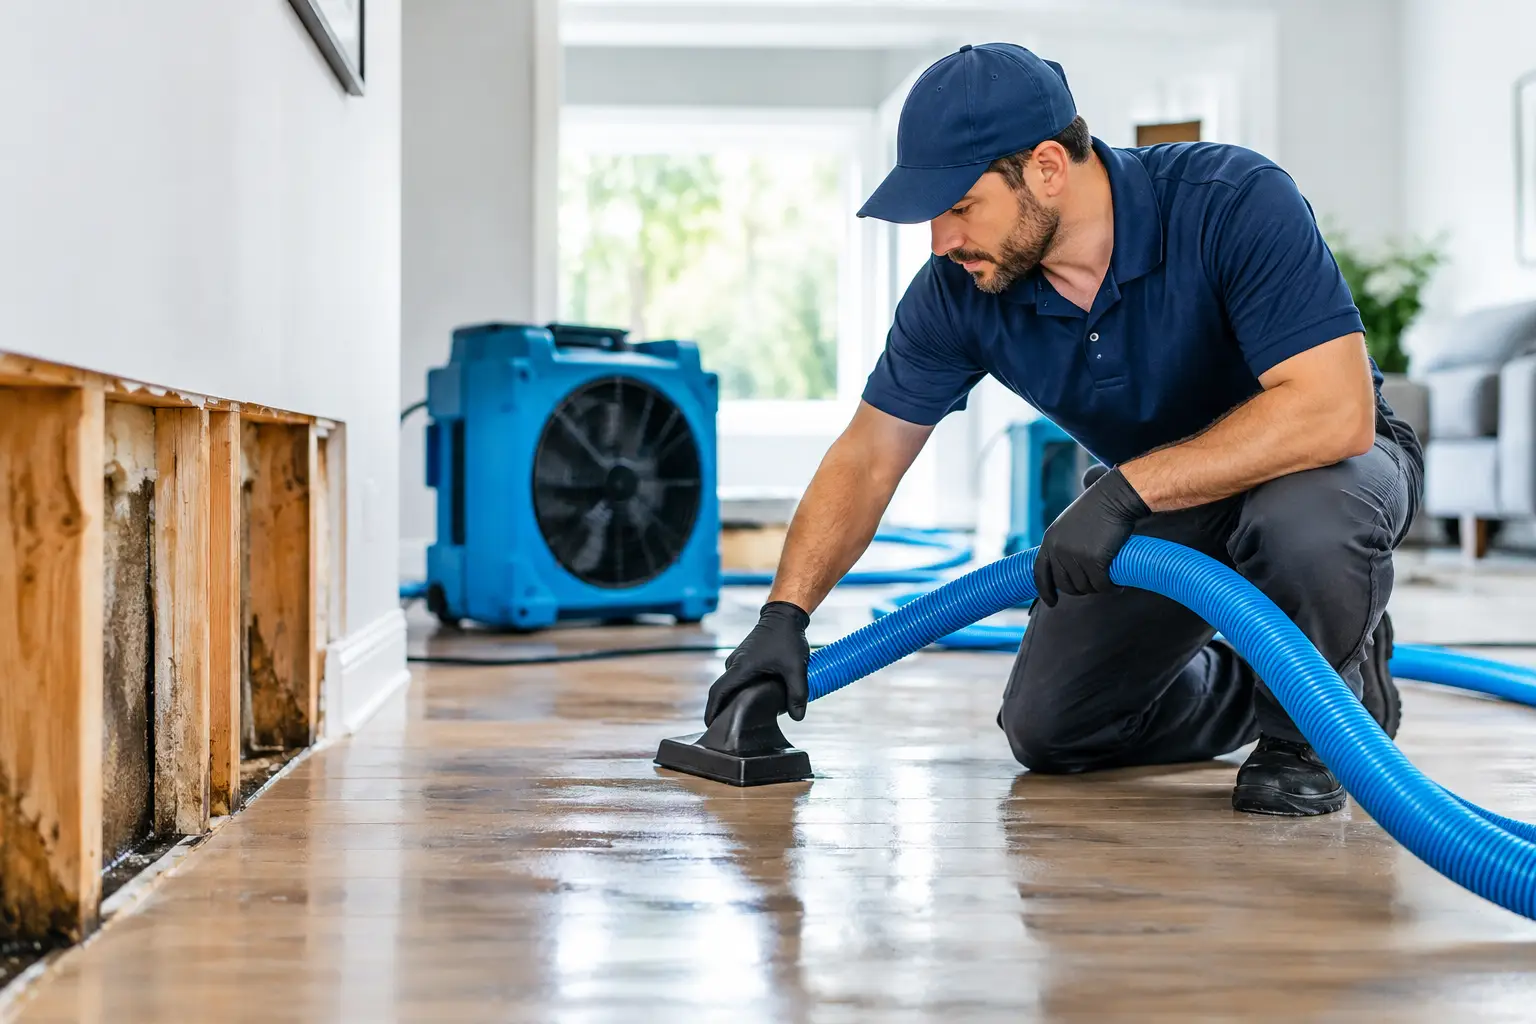
Once the property is stabilized, the remediation team begins removing standing water and extracting moisture from carpet, padding, flooring, and other affected materials. Fast extraction limits how deeply water penetrates and can reduce the amount of demolition needed later.
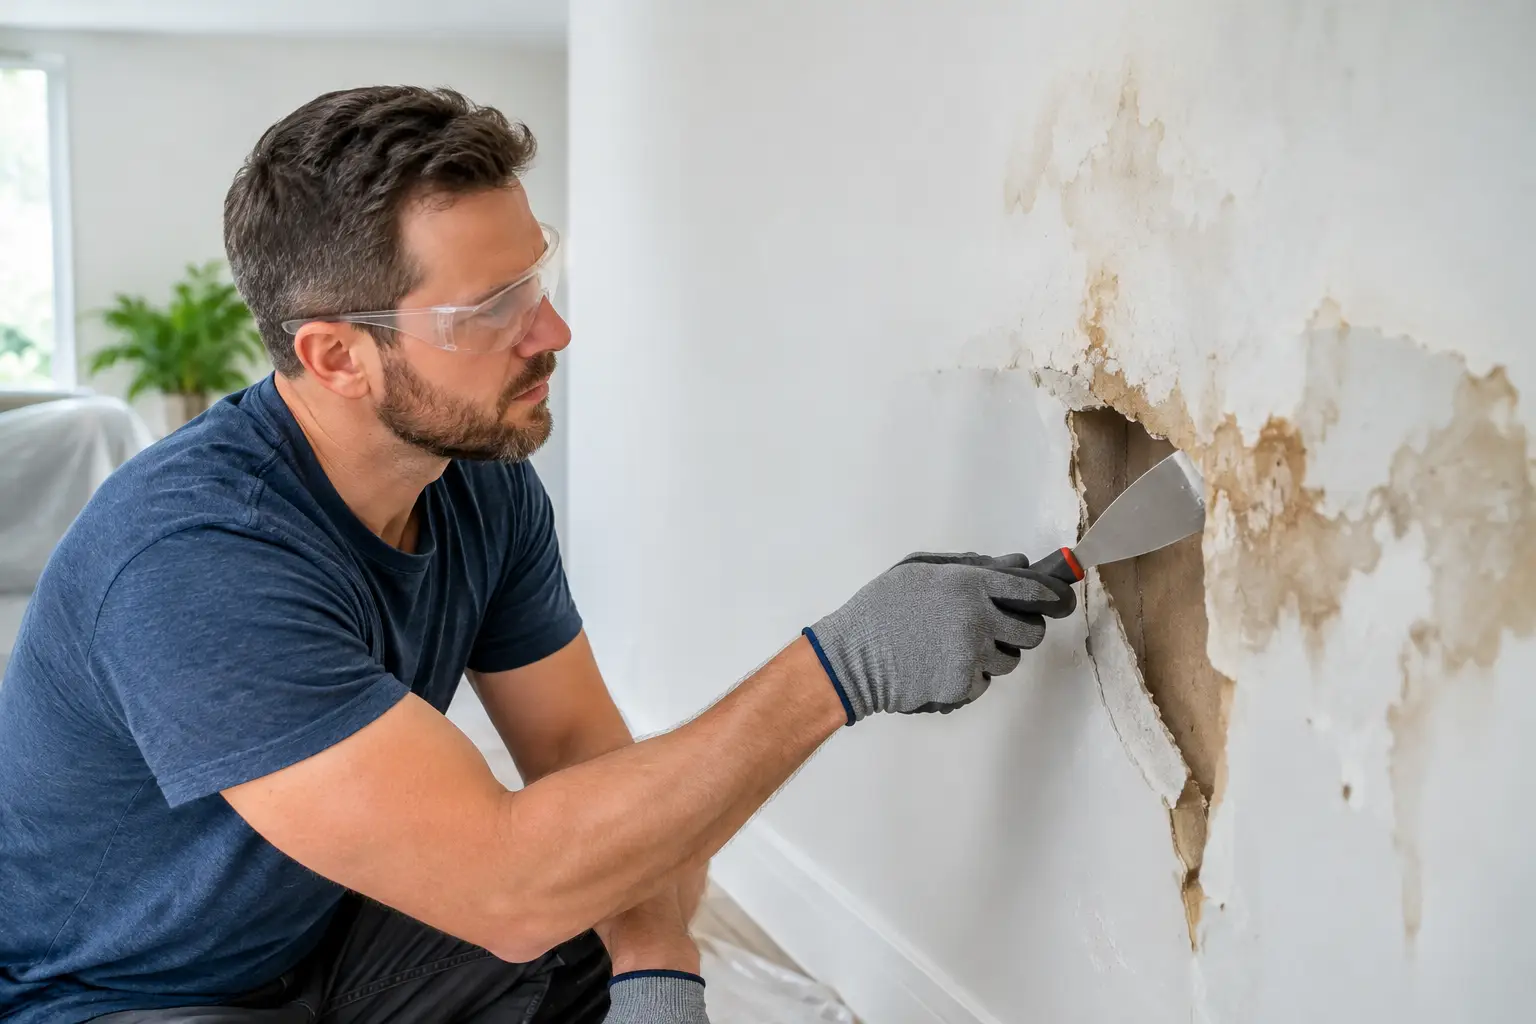
The team will also determine what can be saved. Solid wood elements, non-swollen cabinetry, and certain hard surfaces may be recoverable if addressed quickly. Saturated carpet padding, swollen particleboard cabinets, wet insulation, and heavily affected drywall often need removal because they hold moisture or lose structural integrity.
Containment becomes especially important when water is contaminated or when mold is present or suspected. Barriers, controlled airflow, and careful removal procedures help prevent contaminants from spreading into unaffected portions of the building. This can feel disruptive, but targeted containment is a sign that the work is being managed with care rather than simply covered over.
For commercial properties, this stage should also account for business operations. A contractor may be able to phase work, isolate a damaged area, or schedule portions of the project around operating hours. The right approach depends on the nature of the business and the safety of the affected space.
Days 2-7: Structural Drying and Daily Monitoring
Drying equipment is installed after extraction. This can include air movers, dehumidifiers, air scrubbers, and specialty drying equipment for hardwood floors or wall cavities. The goal is not simply to make the room feel dry. The goal is to return affected materials to appropriate moisture levels based on their material type and surrounding conditions.
In Central Texas, heat and humidity can make drying less predictable. Outdoor weather, HVAC performance, slab construction, and the thickness of materials all affect how quickly a building dries. A room may look normal after a day or two while moisture remains beneath vinyl plank flooring, inside a wall, or under cabinets.
Professional monitoring is what keeps this phase accountable. Technicians take moisture readings, adjust equipment, and document drying progress. If readings stall, they may need to remove additional materials or alter the drying plan. That decision is not always welcome, especially when it means opening a wall or removing flooring, but it can prevent a larger problem months later.
Most straightforward drying projects finish within three to five days. More extensive losses can take a week or longer. Contaminated water, dense materials, substantial hardwood flooring, and water that has been present for several days can all extend this part of the water remediation timeline.
After Drying: Clearance, Scope, and Reconstruction Planning
Once moisture readings confirm that the structure is dry, equipment can be removed and the reconstruction scope can be finalized. This is the transition from emergency response to rebuilding the space with intention.
Depending on the damage, reconstruction may include drywall replacement, insulation, texture and paint, baseboards, flooring, cabinetry, countertops, electrical work, plumbing repairs, or complete room updates. A water event can expose older conditions that were already nearing the end of their useful life. Homeowners may choose to replace a damaged vanity with a more functional design, upgrade flooring throughout an affected level, or improve lighting while walls are open.
There is a practical trade-off here. Restoring the room to its previous condition may be the fastest path. Choosing upgraded finishes or changing the layout can create a better long-term result, but it may add design decisions, material lead times, and permitting considerations. A trusted construction partner should explain the difference clearly so you can make decisions that fit your budget, schedule, and goals.
How Long Do Repairs Take After Water Remediation?
Minor repairs, such as replacing a section of drywall, repainting, and reinstalling baseboards, may take several days once materials are available. A bathroom or kitchen with damaged cabinets, flooring, or plumbing can take several weeks. Larger projects involving multiple rooms, custom cabinetry, structural repairs, or specialty finishes may require a longer construction schedule.
Insurance coordination can also influence timing. Approvals, scope revisions, depreciation discussions, and material allowances sometimes create delays that have nothing to do with the drying process. Staying organized with photos, estimates, and communication records helps keep decisions moving.
At NXT Construction Inc., the objective is not merely to close up a damaged area quickly. It is to help Central Texas property owners restore a dry, durable, functional space with craftsmanship that supports the value and comfort of the property for years ahead.
What Can Slow Down a Water Remediation Project?
Some delays are preventable, while others are part of responsible restoration. The most common factors include the time water sat before discovery, the category of water involved, the extent of hidden moisture, mold growth, needed plumbing or roof repairs, insurance approvals, and the availability of replacement materials.
Older homes can present additional surprises. Opening wet walls may reveal outdated wiring, prior repairs, damaged framing, or insulation that no longer performs well. These discoveries can change the scope, but addressing them while the area is already open is often more efficient than returning later for a separate project.
Property owners can help protect the schedule by approving emergency mitigation promptly, providing insurance information early, saving finish selections when reconstruction begins, and asking for regular status updates. Good communication does not eliminate every variable, but it prevents avoidable pauses and keeps everyone aligned on the next decision.
When to Call for Professional Help
Professional assessment is wise whenever water reaches drywall, insulation, flooring, cabinets, or more than a small surface area. It is especially urgent for sewage backups, floodwater, water near electrical systems, a ceiling that is sagging, recurring leaks, visible mold, or a musty odor that remains after cleanup.
A wet floor may be a simple cleanup. Moisture trapped below that floor can become a restoration project. Acting early gives you more options to preserve materials, reduce disruption, and move forward with confidence. When water affects your property, focus first on stopping the source and protecting the structure – then give the restoration process the time and attention it needs to be done right.