A brown ceiling ring, soft spot near a window, or bubbling paint in the bathroom is more than a cosmetic issue. To repair moisture damaged drywall correctly, the water source must be identified and stopped before any patching begins. Otherwise, a clean-looking repair can hide ongoing deterioration, mold growth, and damage to framing or insulation behind the wall.
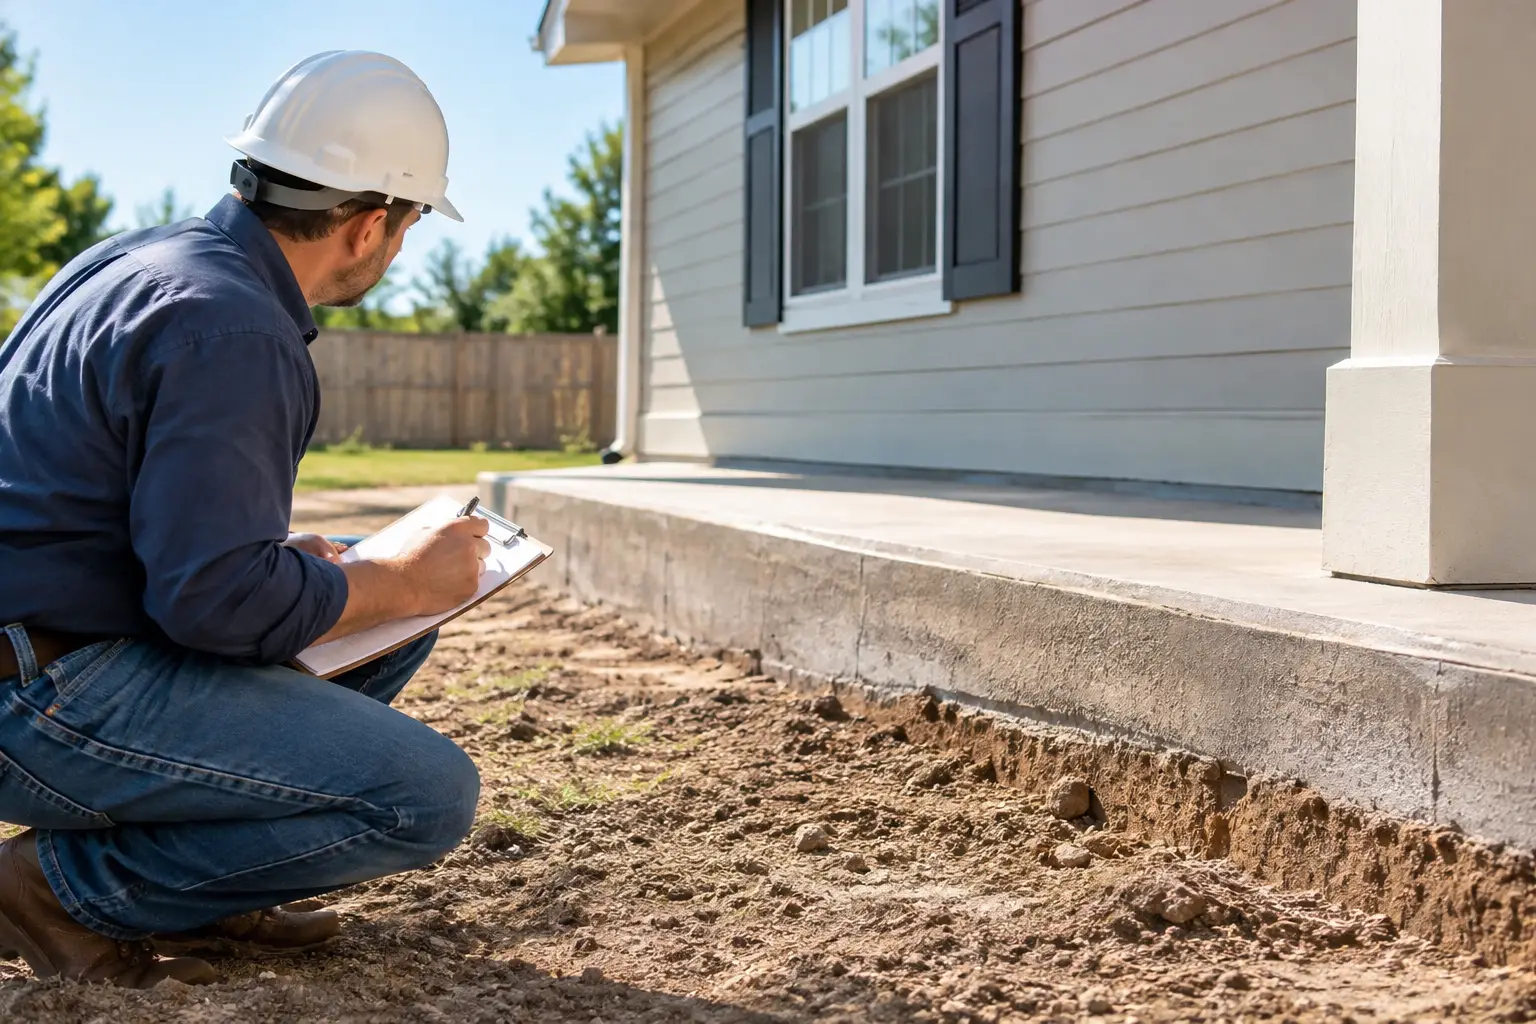
For Central Texas property owners, moisture damage can come from sudden plumbing leaks, roof failures during heavy storms, HVAC condensation, foundation-related drainage problems, or persistent humidity in poorly ventilated rooms. The right response depends on how long the area has been wet, what is behind the drywall, and whether the damage is isolated or part of a larger water intrusion issue.
Start by Stopping the Moisture Source
Drywall is made with a gypsum core and paper facing. It holds up well in dry conditions, but it absorbs water quickly. Once saturated, it can sag, lose structural integrity, and create an environment where mold can develop. Painting over a stain or applying joint compound to a damp wall only delays the real repair.
Start by tracing the moisture back to its source. A stain directly below a bathroom may point to a supply line, drain, toilet seal, or shower pan. Damage on an exterior wall may indicate compromised flashing, roof leakage, failed caulking, or water entering around windows. A ceiling stain below an attic can be caused by a roof leak, disconnected condensate line, or insufficient attic ventilation.
If a pipe is actively leaking, shut off the water supply to that fixture or, if necessary, the home. For roof leaks or storm-related intrusion, temporary protection may limit additional damage, but a permanent repair should address the roof assembly, flashing, gutters, or drainage condition that allowed water inside.
This investigation matters because moisture can travel. The visible stain is not always the wettest location. Water may run along framing, collect above ceilings, soak insulation, or appear several feet from the original leak.
Decide Whether the Drywall Can Be Saved
Not every damp drywall surface needs to be removed. A small area exposed to clean water and dried immediately may remain sound. The key is an honest assessment of the drywall, insulation, framing, and air quality around it.
Drywall may be salvageable when the affected area is small, firm to the touch, and completely dry within a short period. Surface stains can often be sealed later with a stain-blocking primer after the underlying area has dried.
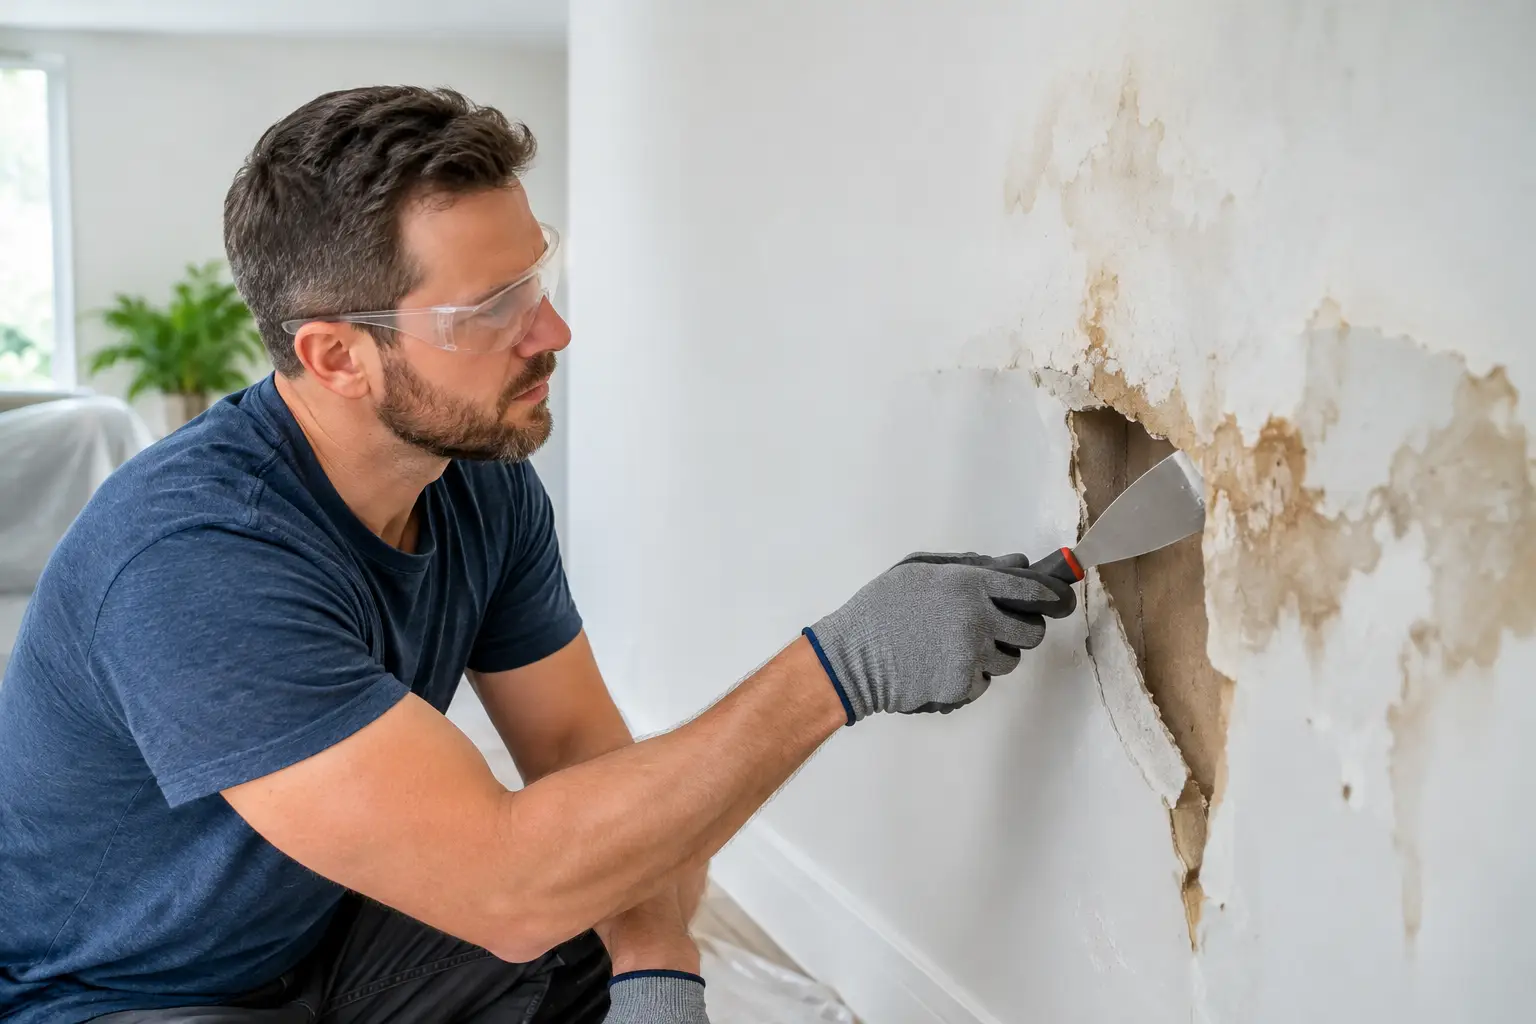
Removal is generally the better choice when drywall is soft, swollen, crumbling, sagging, warped, or separating at seams. It should also be removed when it has been wet for an extended period, when mold is visible, or when water came from a contaminated source such as a sewage backup. In those cases, trying to preserve the material can compromise both the repair and the indoor environment.
Ceilings deserve extra caution. Wet ceiling drywall can become surprisingly heavy and may fall without much warning. If it is bowing, sagging, or feels soft, keep people out of the area and have it evaluated before attempting a repair.
A note on water categories
The type of water involved changes the scope of work. Clean water from a recently failed supply line is different from gray water from appliances or black water from sewage. Contaminated water events typically require more extensive removal, cleaning, and protective procedures. Even a seemingly clean leak becomes more concerning when it remains undetected for days.
How to Repair Moisture Damaged Drywall After Drying
Once the source is fixed, the area must be thoroughly dried before reconstruction. Fans, dehumidifiers, and controlled airflow can help, but simply running a household fan across a wet wall does not confirm that the cavity is dry. Moisture can remain in insulation, wood framing, sill plates, and subflooring long after the surface feels normal.
For a small, clearly defined repair, remove damaged drywall back to solid material. Cutting the opening into a clean square or rectangle makes it easier to install a stable patch. Avoid cutting blindly into walls or ceilings where electrical wiring, plumbing, ductwork, or other mechanical systems may be present.
If insulation behind the drywall is wet, it should usually be removed and replaced. Insulation that stays damp can hold moisture against framing and reduce energy efficiency. The wall cavity should then be cleaned as appropriate and allowed to dry fully before it is closed.
Measure and cut a replacement drywall piece that fits the opening. Add backing or blocking where needed so the edges of the patch have solid support. Secure the new drywall, tape the seams, and apply joint compound in thin, feathered coats. Each coat needs time to dry before sanding and applying the next. Rushing this stage is one of the main reasons patched walls show ridges, cracks, or flashing after paint.
After the final sanding, use a quality primer. If the old damage left staining, a stain-blocking primer is essential before finish paint. Match the wall texture before painting, especially on orange-peel or knockdown finishes common in many Central Texas homes. Texture mismatch can make an otherwise sound repair stand out in afternoon light.
When Mold Changes the Project
Mold is not always visible immediately. A musty odor, discolored drywall, repeated staining, or moisture readings that remain elevated can all indicate a hidden issue. Mold growth is especially common behind baseboards, inside exterior walls, beneath ceiling cavities, and around bathrooms, laundry rooms, and HVAC equipment.
Small, isolated surface growth may be manageable with careful containment and appropriate cleaning after the moisture source is corrected. But widespread growth, recurring odors, extensive wet materials, or contamination within HVAC components calls for a more comprehensive approach.
The goal is not to cover the evidence. It is to remove affected porous materials when necessary, clean remaining structural surfaces, dry the area to an acceptable moisture level, and rebuild with materials suited to the room. In bathrooms and other high-moisture spaces, that may include improved exhaust ventilation, moisture-resistant drywall in appropriate locations, better waterproofing, or upgraded caulking and tile transitions.
Signs the Damage May Be Larger Than It Looks
A small stain can be the first sign of a much larger problem. Professional assessment is especially valuable when damage keeps returning or appears in multiple areas. Watch for these conditions:
- Drywall stains that reappear after painting or patching
- Soft baseboards, buckled flooring, or peeling paint near the damaged area
- A persistent musty smell in a room, closet, attic, or crawl space
- Ceiling sagging, cracked seams, or damp insulation
- Water damage following a major storm, plumbing failure, or sewage backup
- Moisture near electrical fixtures, outlets, or breaker panels
These symptoms may point to a roof, plumbing, drainage, HVAC, or foundation-related issue that needs attention beyond the drywall itself. A repair that addresses only finishes may look complete while moisture continues affecting the building materials behind them.
Preventing Another Drywall Repair
Prevention is often less disruptive and less expensive than repeated restoration. Check under sinks, behind refrigerators, around water heaters, and near washing machines for slow leaks. Keep gutters clear and direct downspouts away from the foundation. Inspect roof penetrations, window seals, and exterior caulking as part of routine home maintenance.
In bathrooms, use the exhaust fan during showers and leave it running long enough to clear humidity afterward. Make sure dryer vents discharge outside and HVAC condensate lines are maintained. For homes with recurring drainage or foundation concerns, improving how water moves around the property can protect more than drywall. It can help preserve flooring, framing, insulation, and long-term home value.
For commercial properties, regular checks of restrooms, break rooms, roof drains, mechanical rooms, and tenant improvement areas can prevent a small leak from interrupting operations or affecting finished spaces.
Choose a Repair That Protects Your Investment
A drywall patch is straightforward only when the moisture event was brief, clean, and fully resolved. When water has moved behind walls, affected insulation, created mold concerns, or damaged a ceiling, the project requires a more complete plan. That plan should protect the structure first, then restore the appearance of the space with careful finishing.
NXT Construction Inc. helps Central Texas homeowners and commercial property owners assess water damage, identify practical repair paths, and rebuild affected spaces with craftsmanship and clear communication. A timely inspection can turn an uncertain stain or soft wall into a defined repair plan, protecting the comfort, value, and character of the property you have worked hard to build.